

Digital Tools for Sketching Experiments
Having started my journey to re-learn sketching and coloring, I needed a way to use digital tools to prevent having to start from scratch during my sketching experiments. Here is a simple way I used.
Fountain Pens and Pencils - an old love!
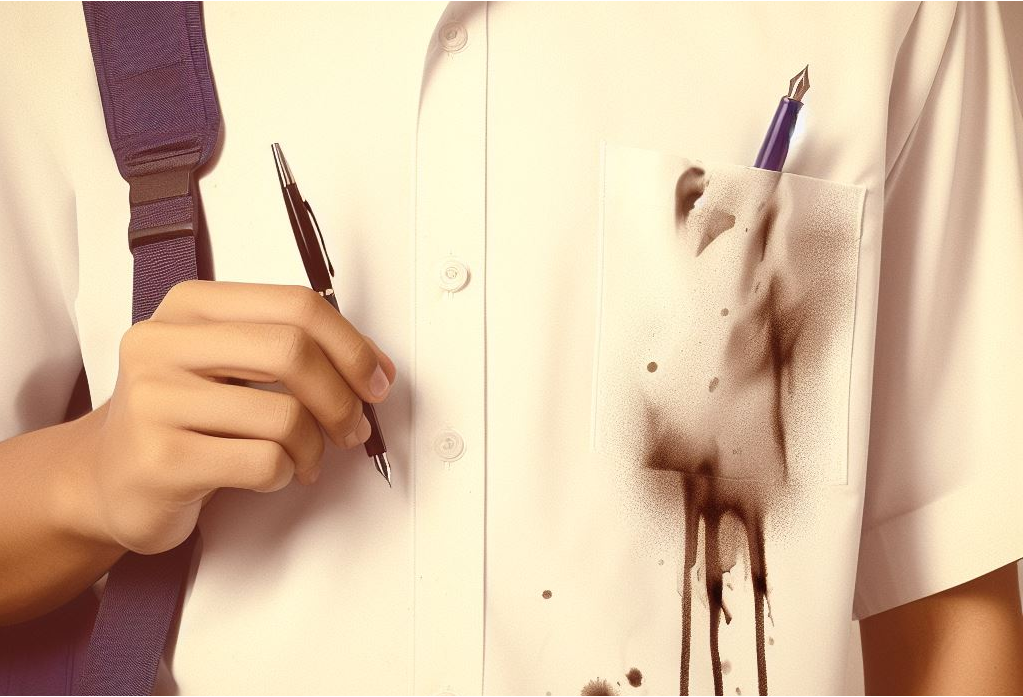
I used to love writing with a fountain pen as a student. In fact ball point pens were not allowed in our school! Leaky fountain pens that always left stains on a white uniform shirt were the default writing instrument, and I loved using both, fountain pens and pencils to write and to sketch.
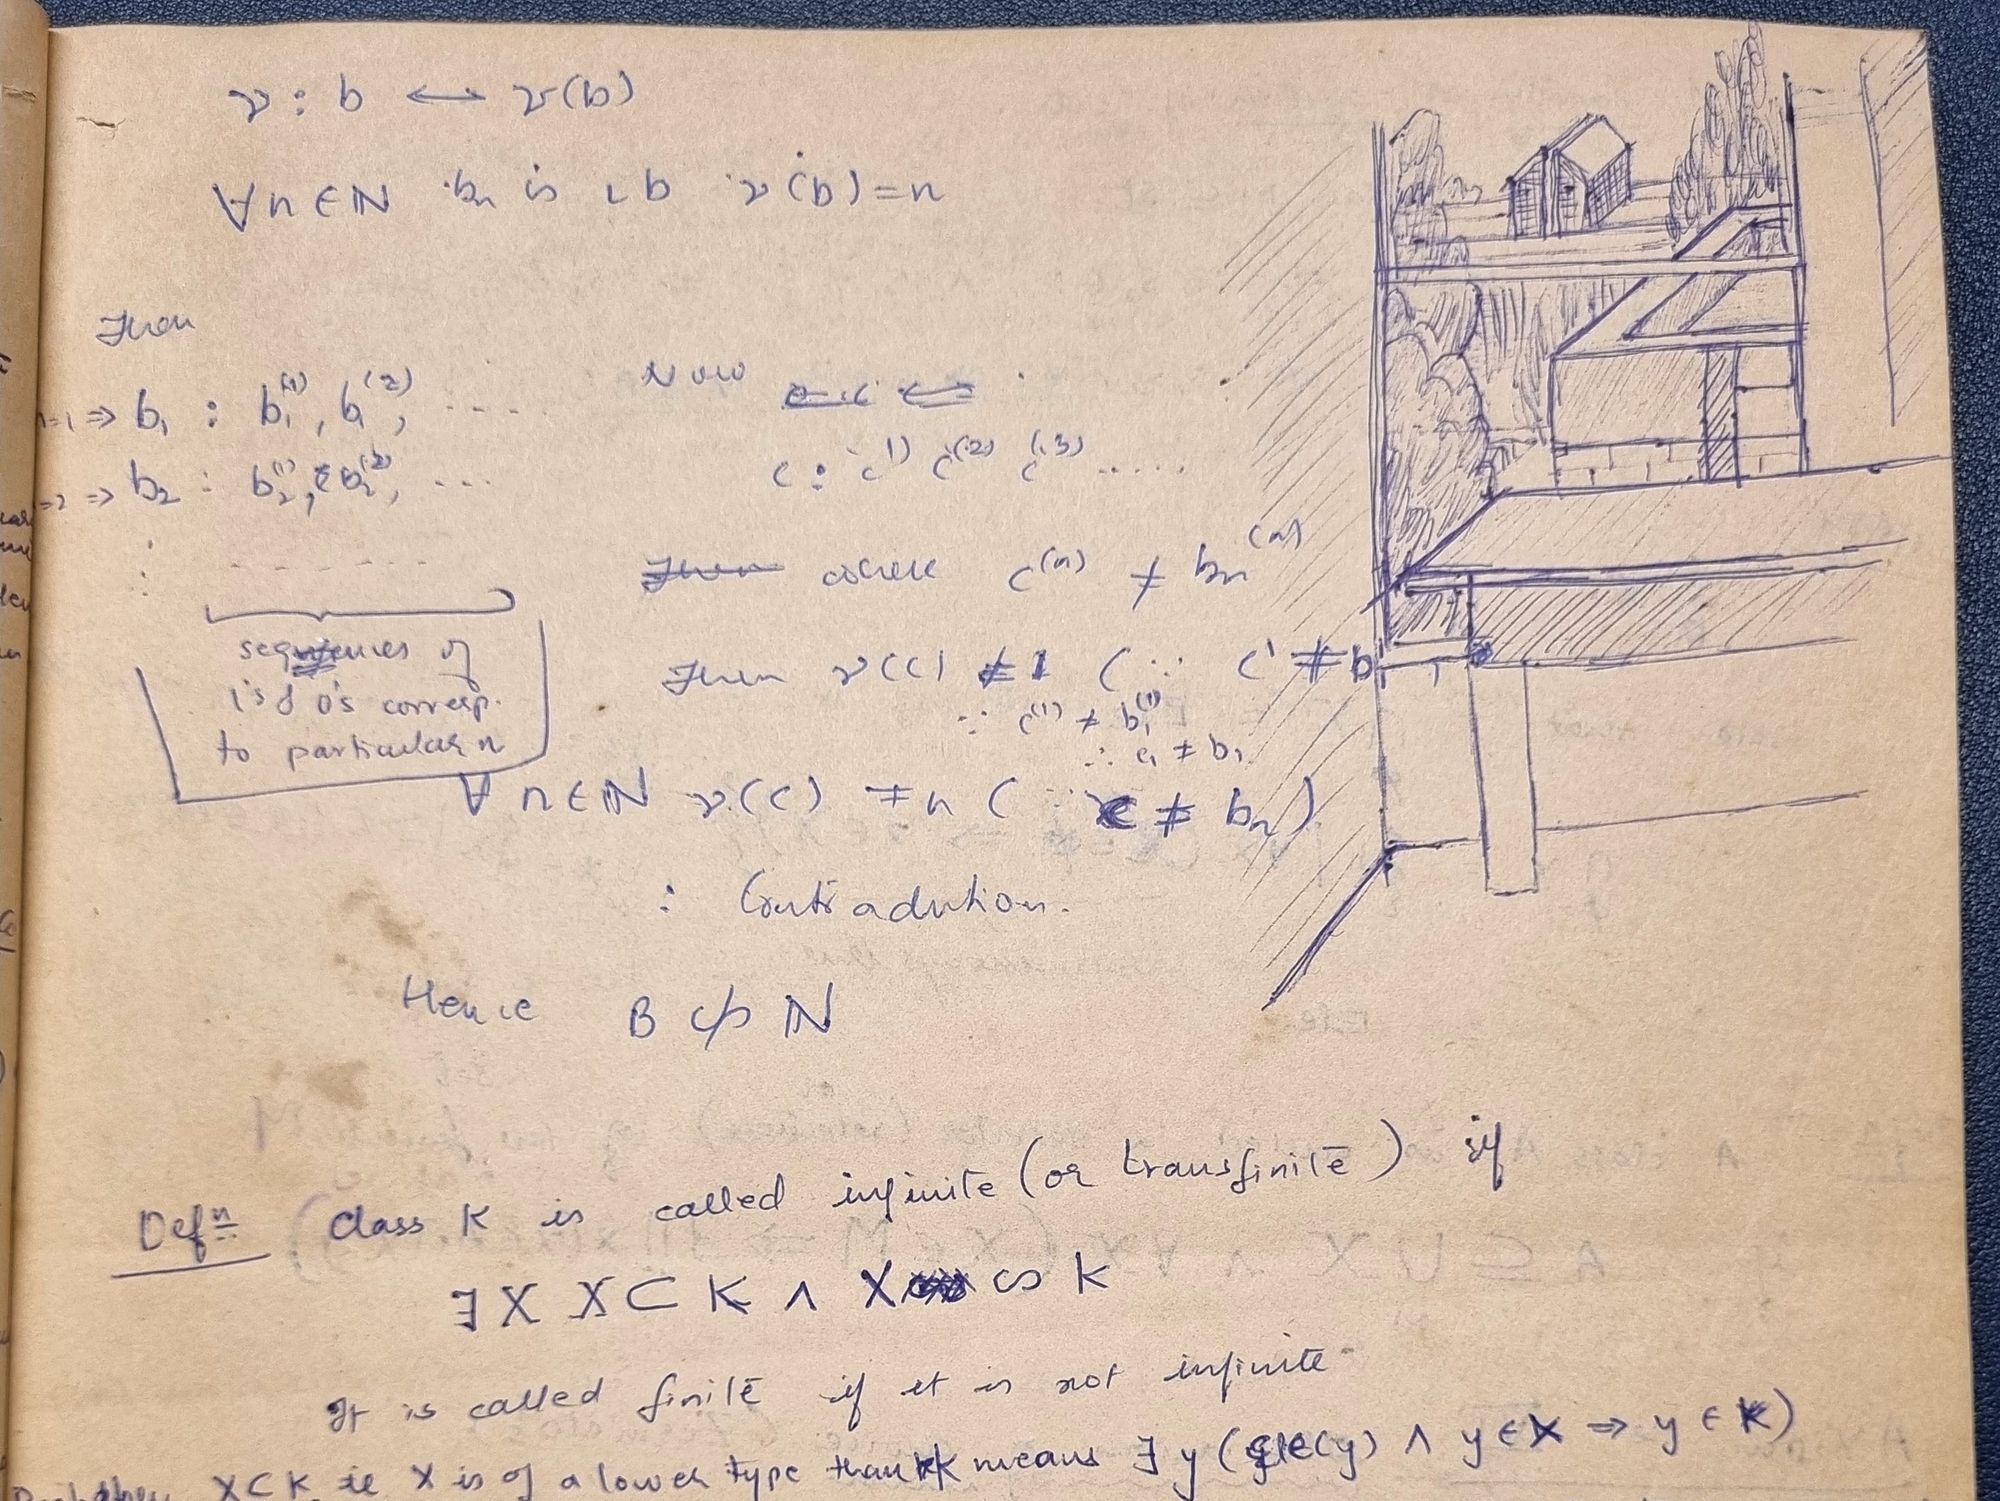 I recall the exquisite drawings of cells and micro organisms in biology notebooks, and later while studying Mathematics I still have my Set Theory notebook with scribbles like this one above.
But after graduation (now over 35 years ago), I have spent more than half my life with limited use of a pen or pencil, but have a relatively good understanding of digital tools. Plus, now there are several AI based tools available that can do everything automatically. How can I get the best of both worlds?
Having been spoilt as a digital professional who is used to being able to undo or redo your work without having to start from scratch, I felt very uncomfortable with having to make artistic decisions without knowing how the outcome will turn out. Would it be possible for me to use digital technology to help make a decision?
I surely did not want to generate the image using AI, because the whole point of the exercize is to learn how to draw. But I could still explore the tools.
Step 1: Making a composition for the topic
To begin with, I am not a professional artist, and it is difficult for me to conceptualize a scene without a reference. So the first step is to get some references online.
I decided that the topic would be Asalpha village, a slum colony in Ghatkopar that was transformed into a work of art by Chal Rang De

I wanted to contrast the modern amenities of the city, such as the first Mumbai Metro line that passes next to Asalpha village with the slum colony in the background. Now this is an actual real scene, and there are photos of Mumbai metro with Asalpha in the background, one of the best being from Scroll Magazine's article.
However, I needed both, a much simpler version and a bit more dramatic in its effect. I imagined the metro being much more bold in the foreground and the village being closer with fewer details.
I found two different images that together represented what I imagined.

The first image is a photograph on Flickr by Sugata Sinha embedded above.

The second image is a close up of Mumbai Metro from a Livemint article.
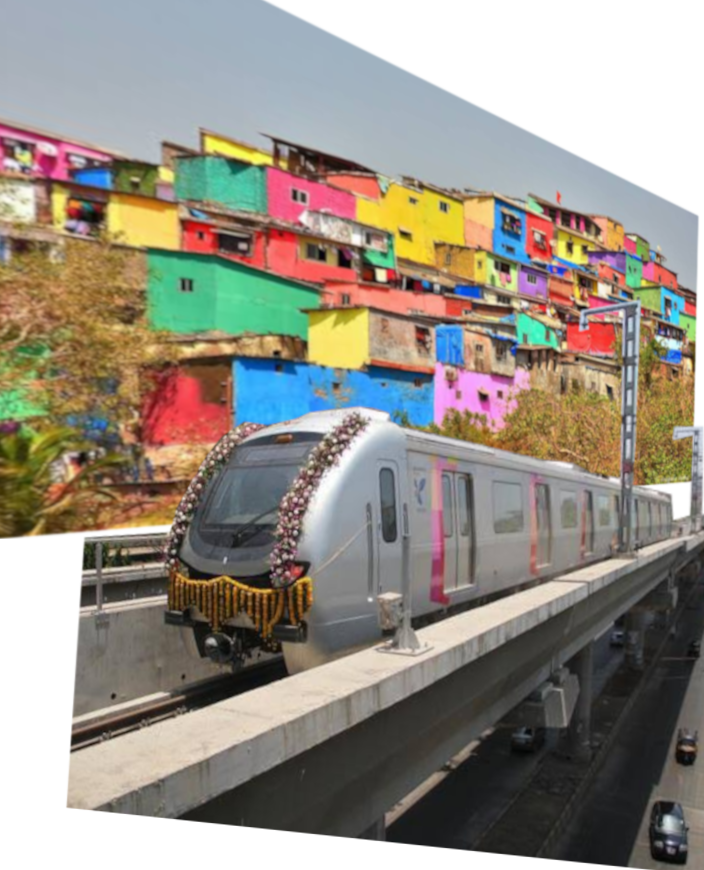
I wanted to combine these both. But of course, they are from a completely different view point, so I had to first figure out how they would look from the same view point. To do that, I got both images into Gimp, the open source image editing tool that I am familar with. I cut out part of the metro image, super imposed it on the village image, and transformed the two images using the Perspective tool of Gimp. The result is the above image.
This was a good starting point for me to try and replicate.
Step 2: Creating an outline sketch
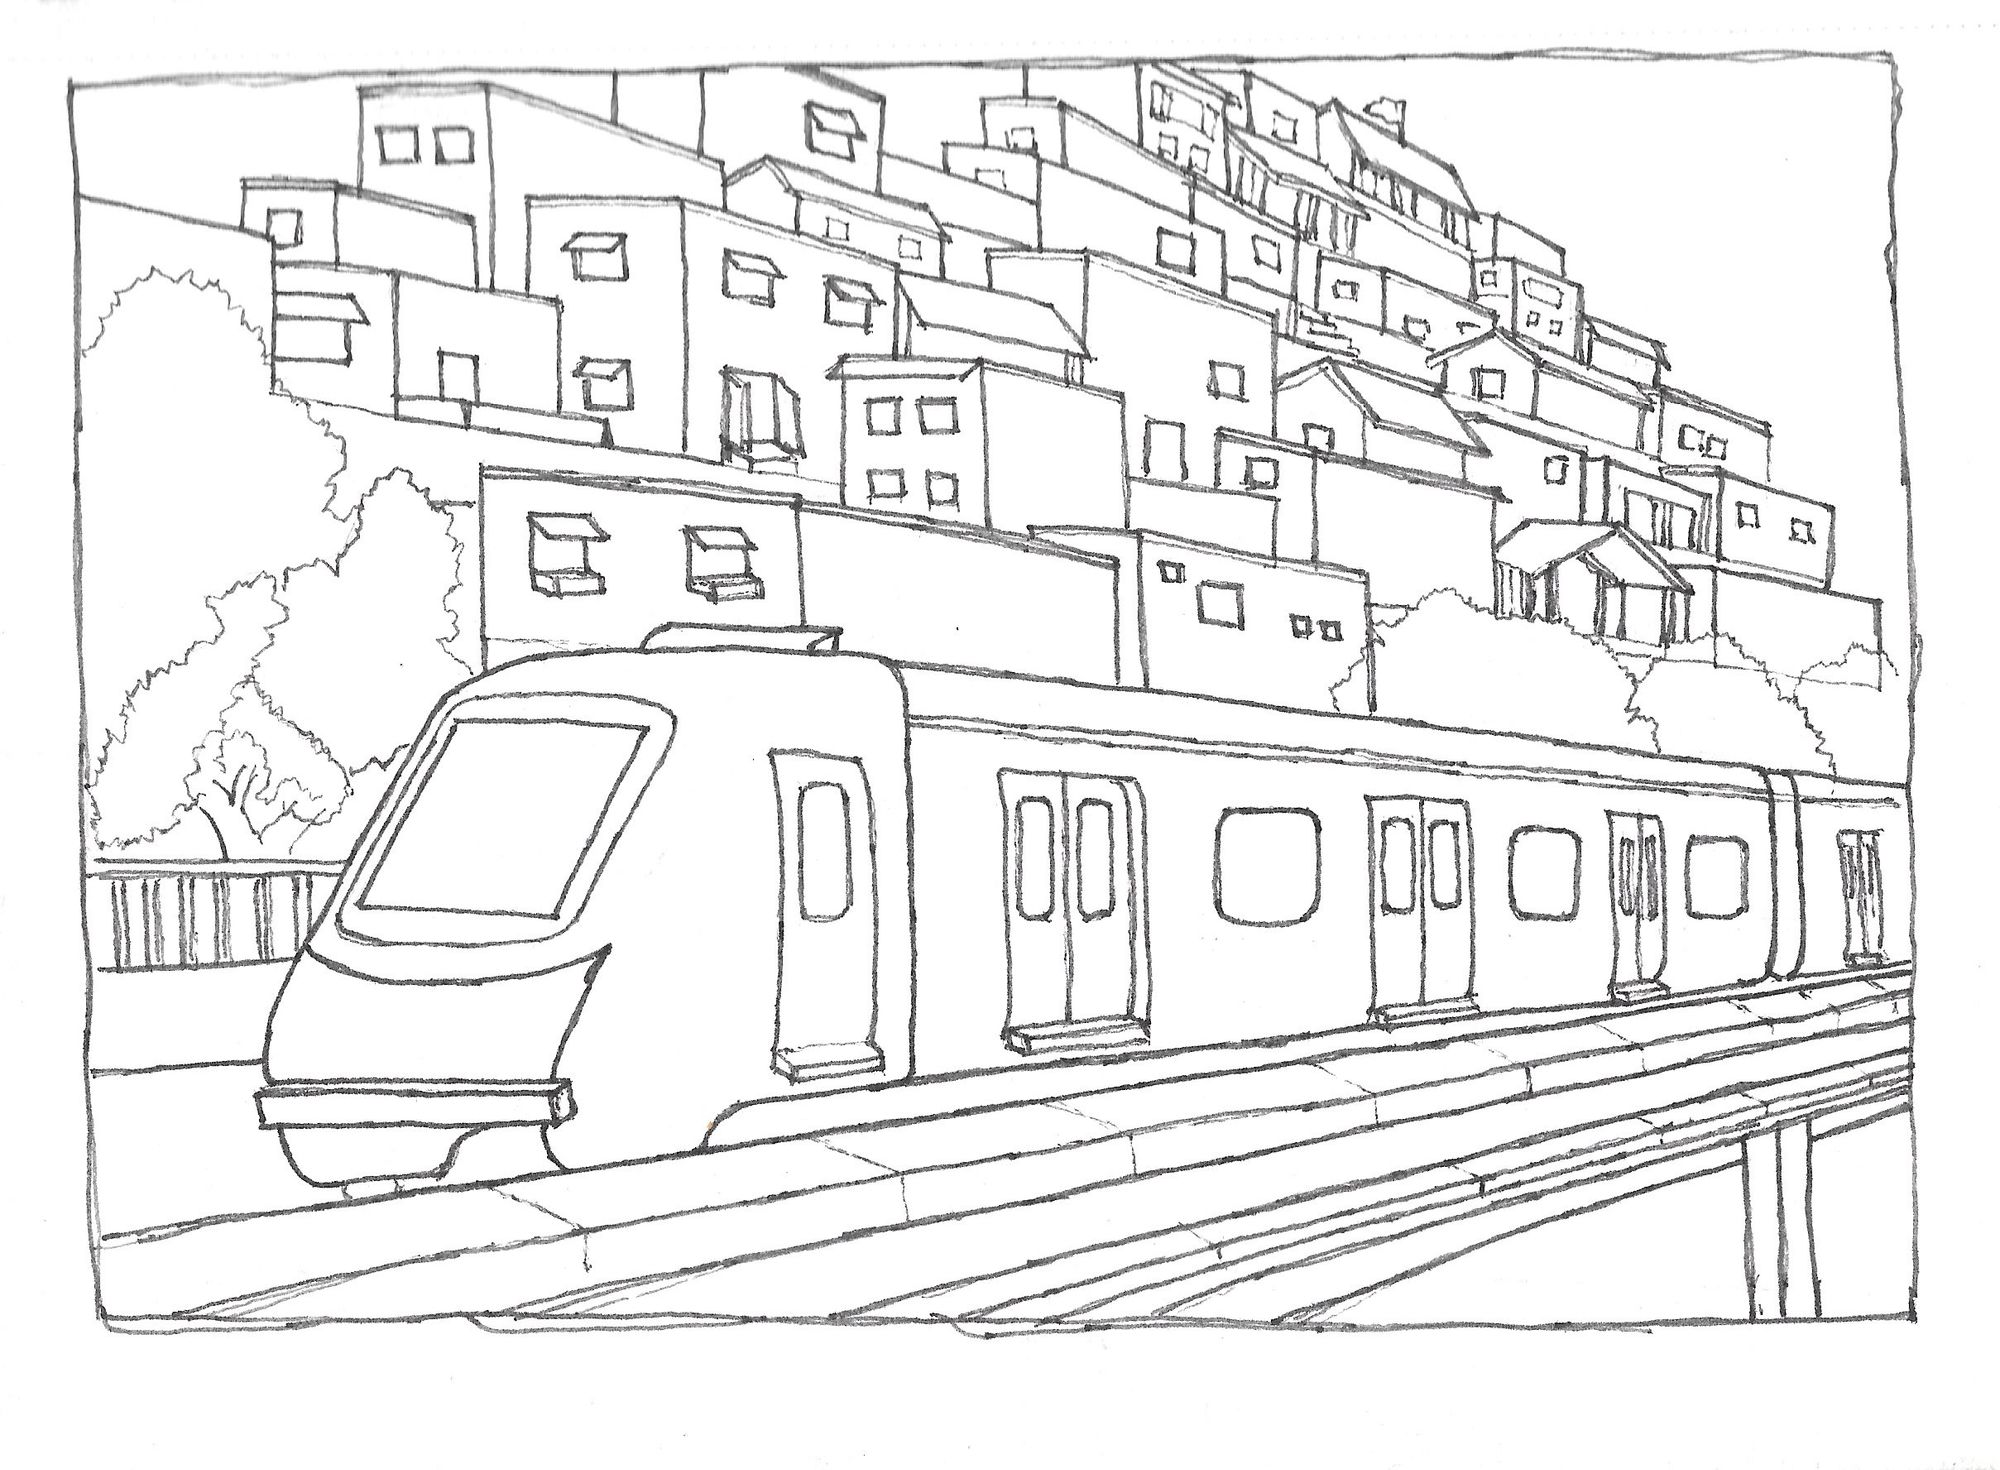
I started with a pencil outline sketch and then firmed it up with a fountain pen.
Step 3: Coloring or Hatching
I was unsure of how I should treat the next steps. I had two options - either stick to a fountain pen and do hatching, or use water colors to color it.
To make a decision, I tried to use Gimp again to preview how the coloring will look like.
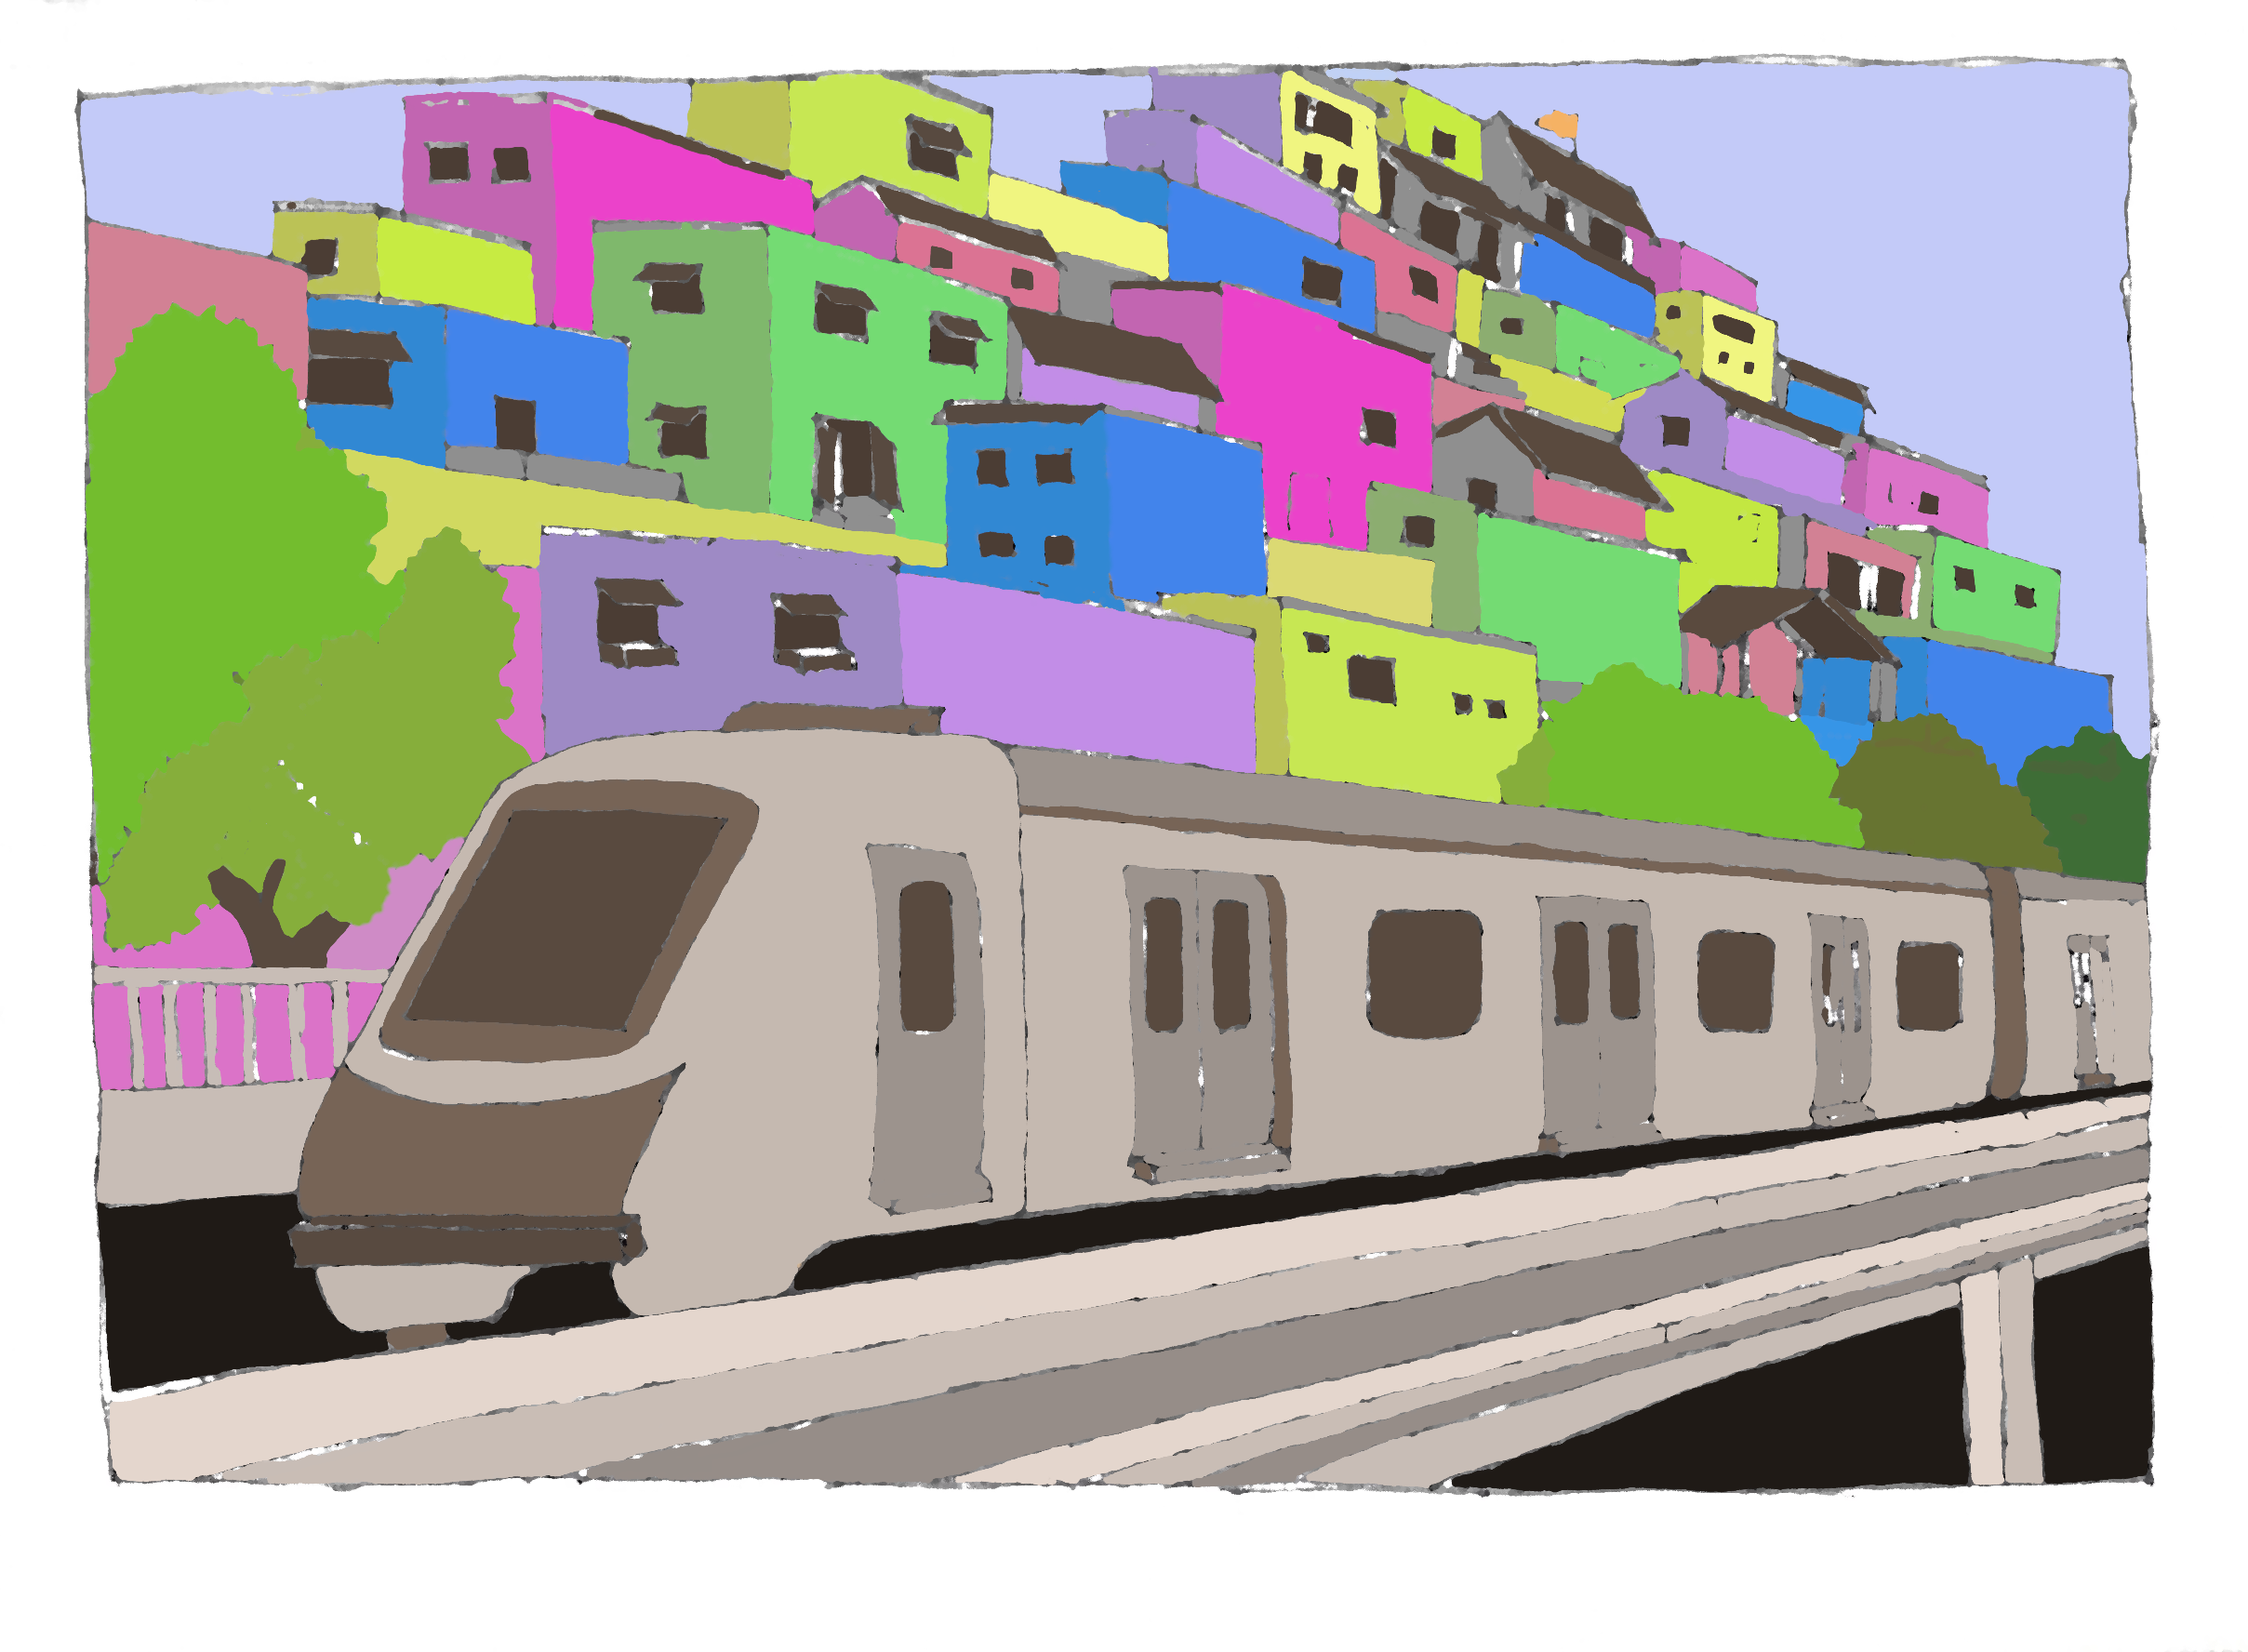
I started by simply filling in blocks of colors like a childrens coloring book. To reduce the small gaps, I added an artistic filter called Oilify, but was not very happy about losing the borders in the process.
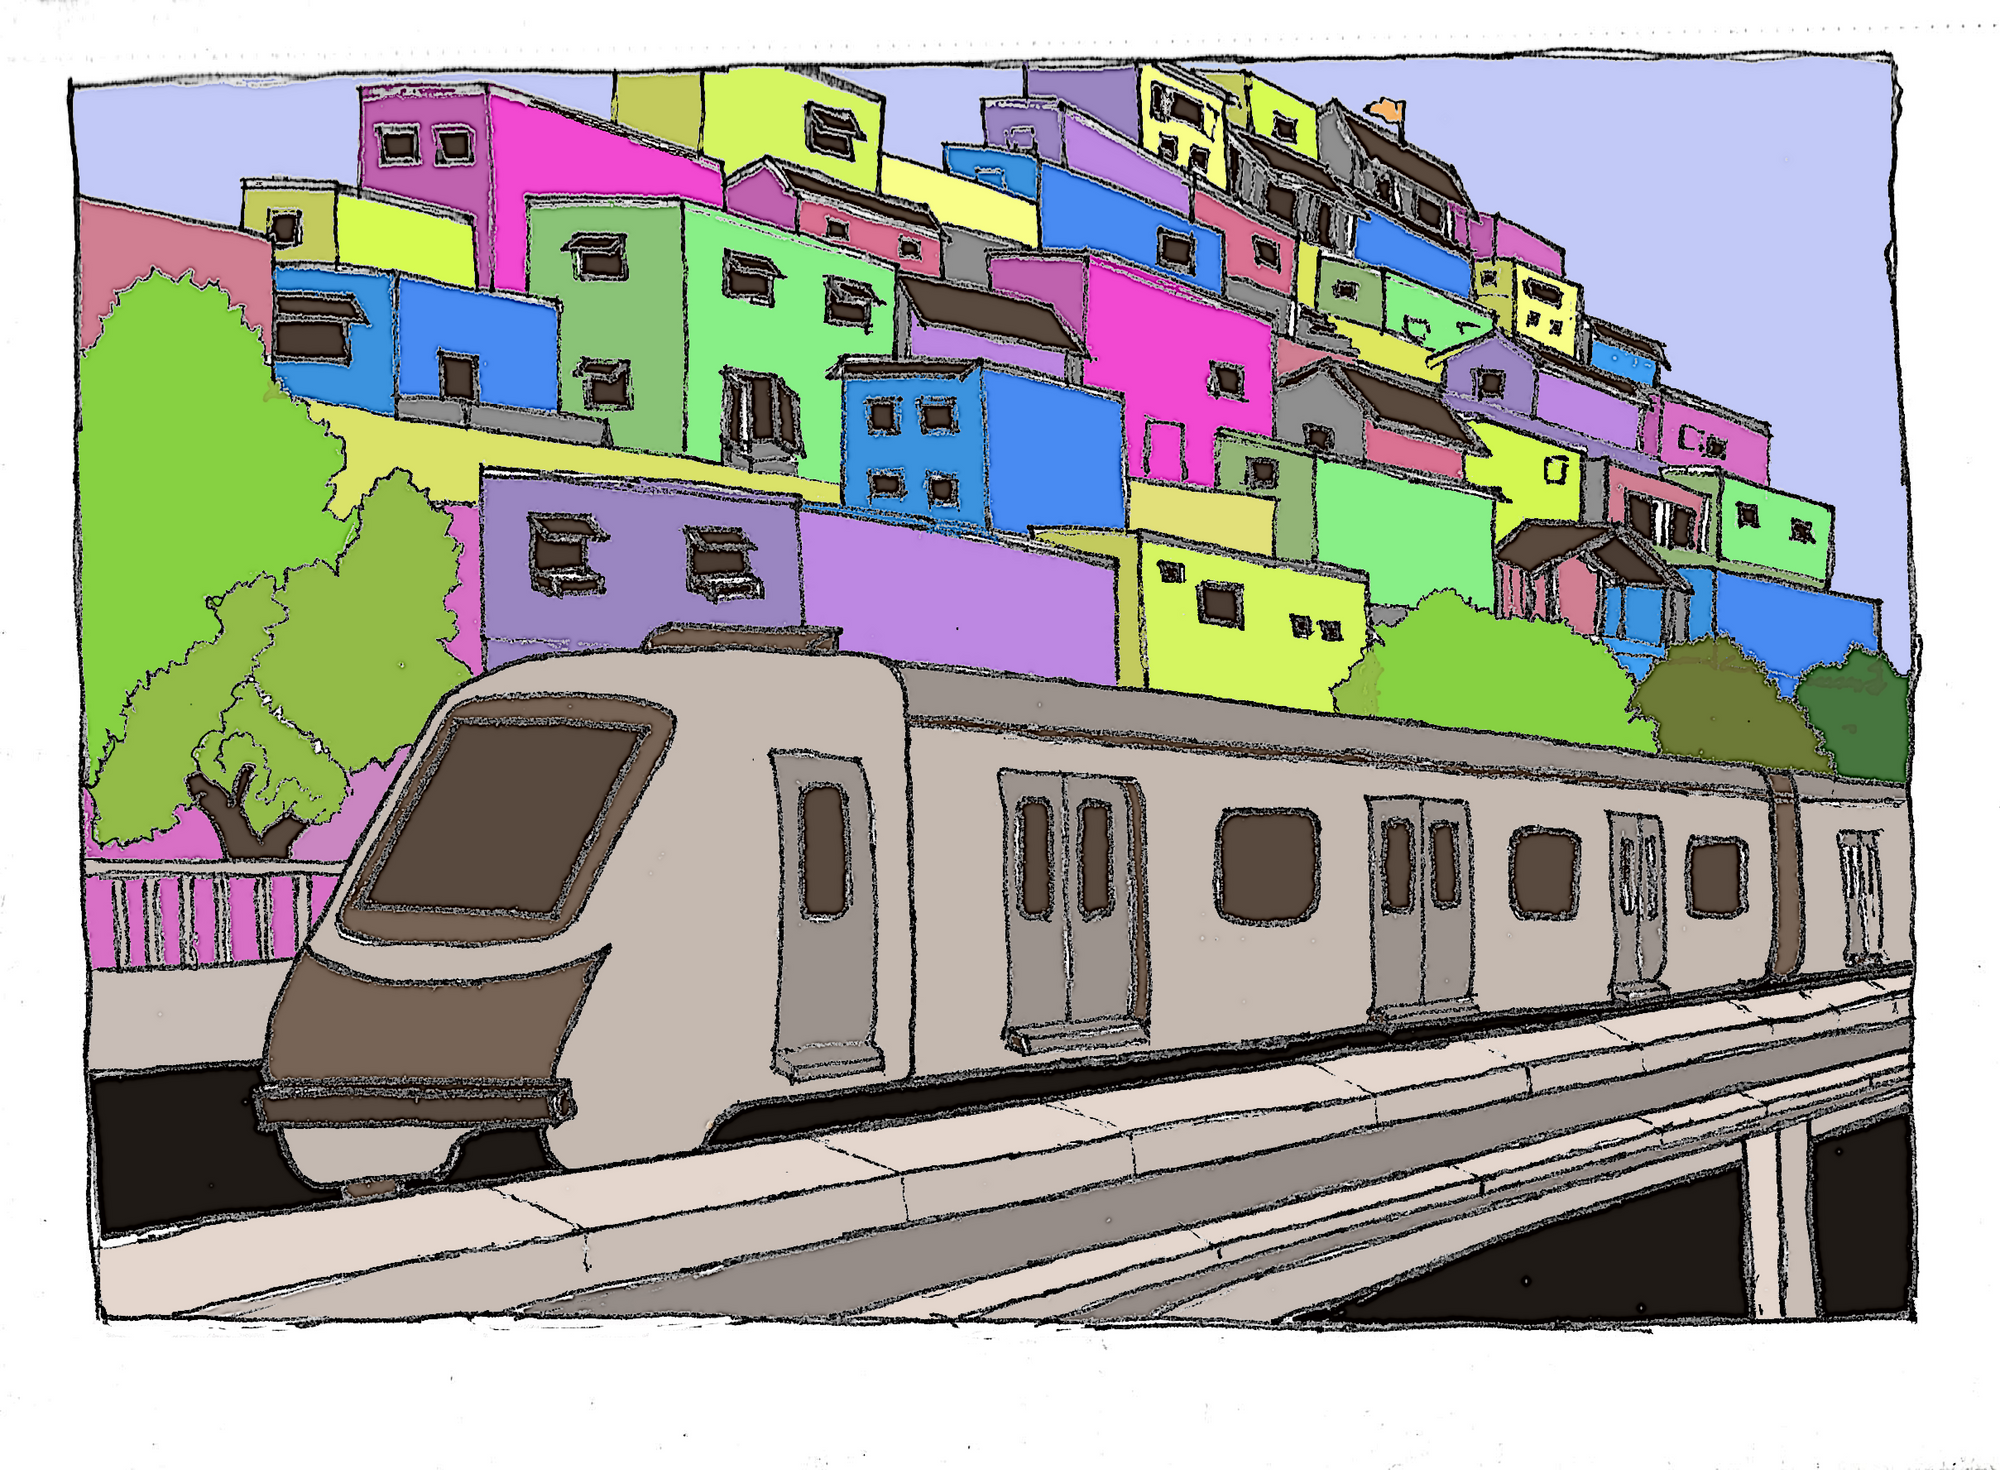
The second filter I tried was Cartoonify, which gave me much better results as a reference to try my hand at water colors.
Step 4: Trying the Hatching
But I could not find any way to create an ink hatched digital version, and it was pointless to try and use a digital brush to do so ... I may as well try it on paper.
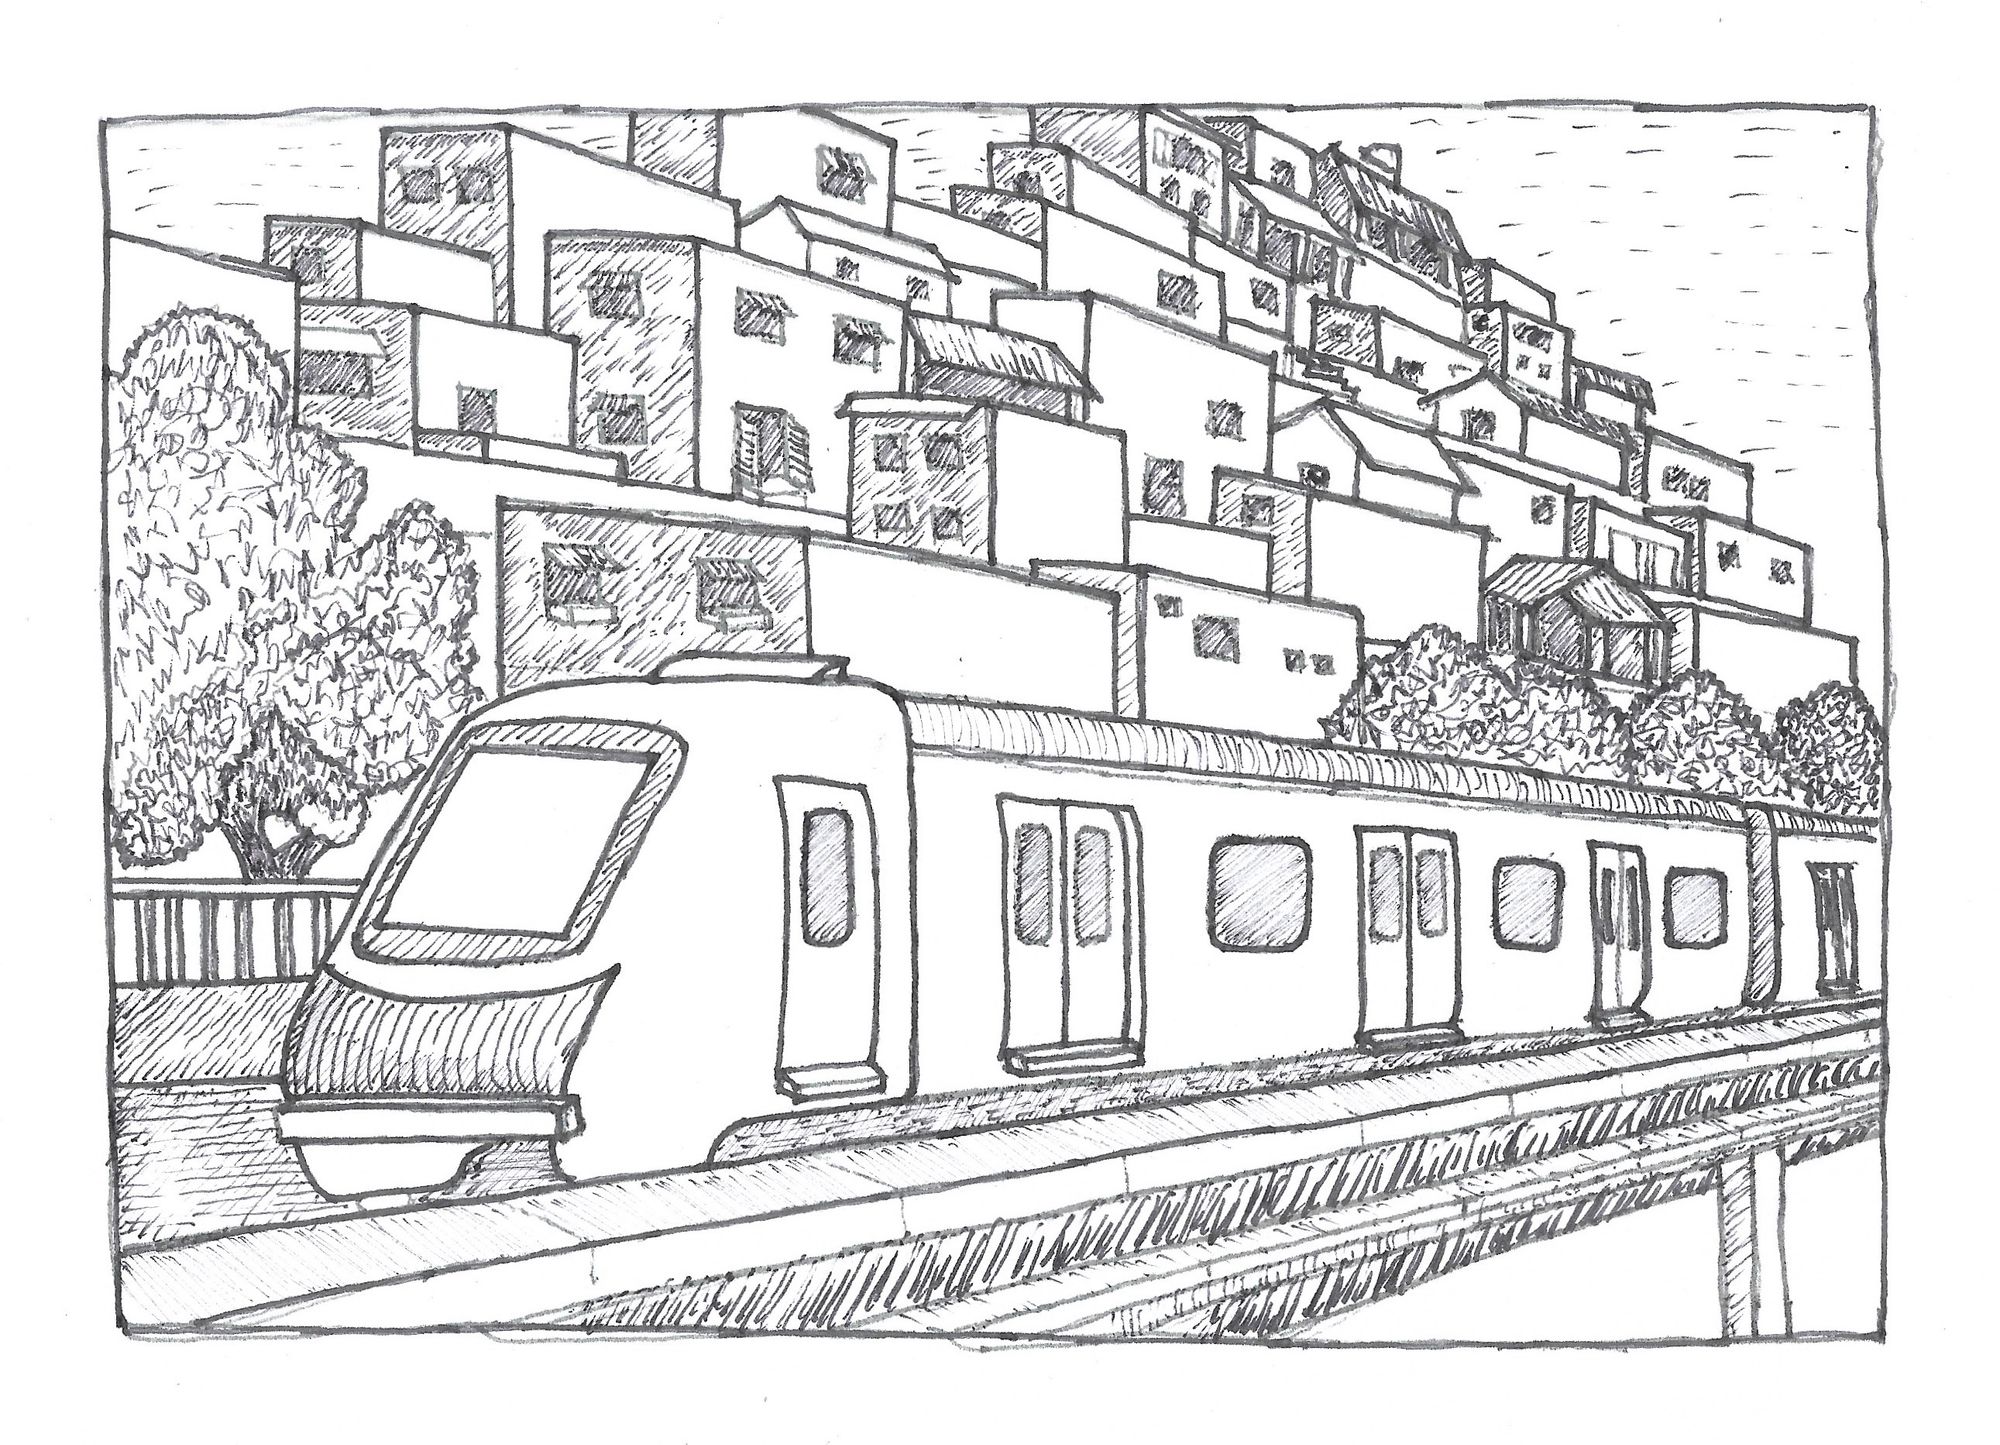
So I printed out the outline on a normal paper and used the fountain pen to hatch the sketch, followed by re-inking the borders with a fountain pen. Note that my original sketch in the sketchbook is still untouched. This was just a temporary experiment to see how hatching would look like.
Step 5: Trying the Water Coloring
I was afraid to use water colors, because I was never really trained for it. I remember when I was a kid, my mother had taught me to use water colors in preparation for the basic art examination, but I did not do anything to practice the art. So I had to try it to see what I could manage.
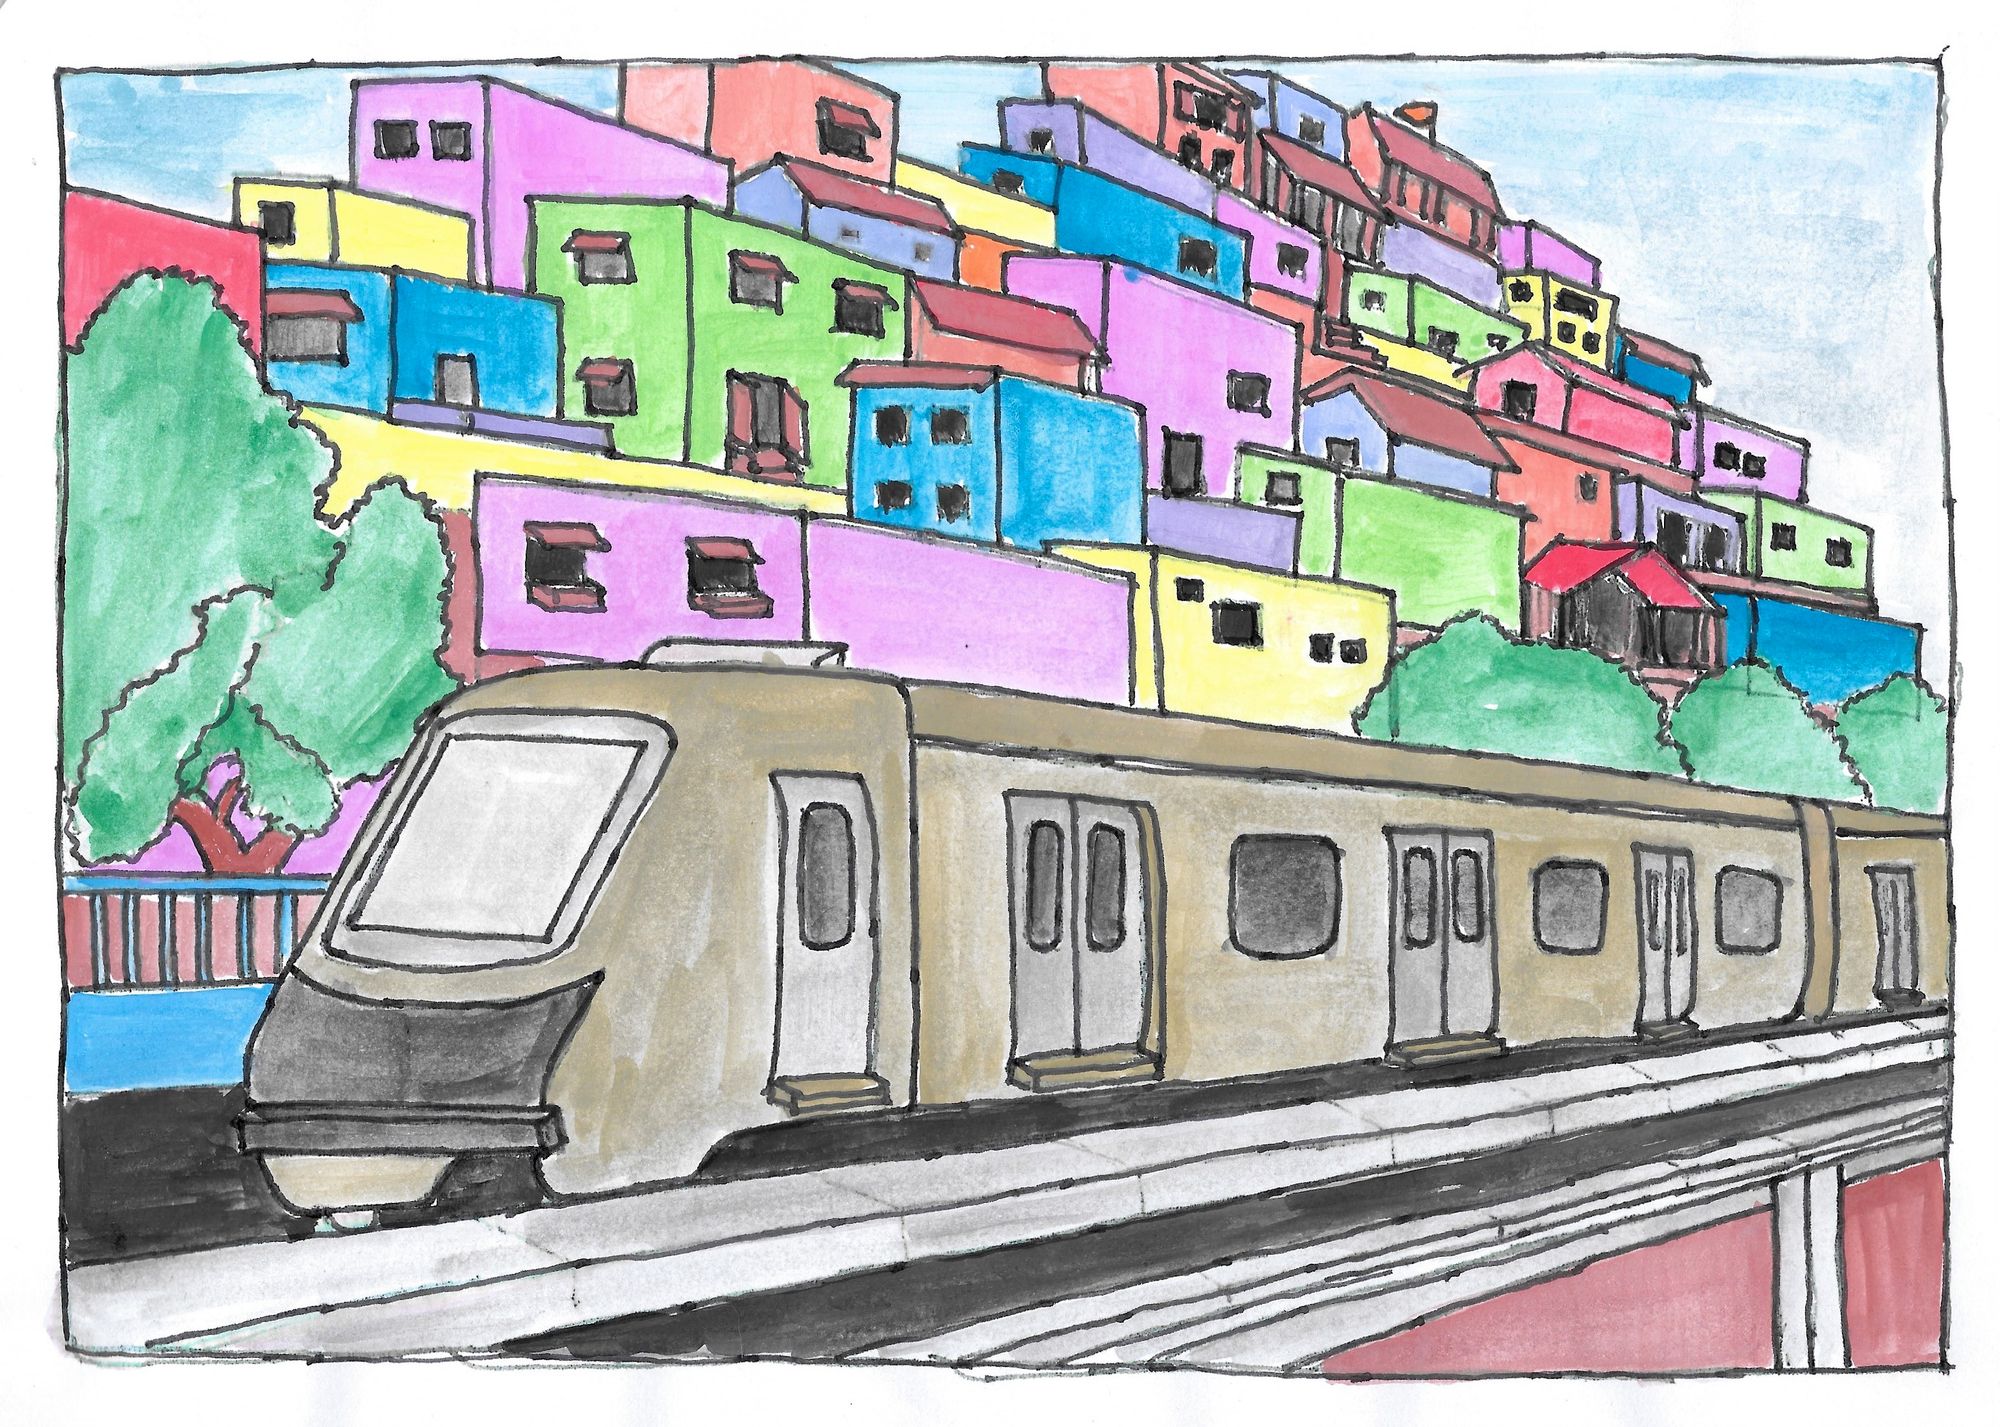
I took another printout and tried to color it with water colors, followed by re-inking the borders with a fountain pen. I truly enjoyed the process, but found using water colors was a much more difficult skill than it seems. The colors just would not behave - I have a lot to learn! Another issue was that I was just using normal printer paper that was getting drenched easily with even a little of water, but I persevered and wanted to get a final preview of how it would look.
I was reasonably happy with the outcome, considering this was my first water color and fountain pen combination. I was able to use digital tools to experiment without losing my work, and I still have my outline sketch in my sketchbook to deal with. But I need to learn a bit more about using ink and water colors together before I proceed to finalize the sketch.
Step 6: Do it with AI, anyway!
So finally, I wanted to try creating the entire illustration using AI. Bing has released their image creation service recently, that uses DALL-E 3.
After a few experiments, the final prompt that worked to my liking was as follows:
create an illustration with fountain pen ink outlines and water color fills, showing a metro train in the foreground and a crowded slum colony in the background with multi colored walls
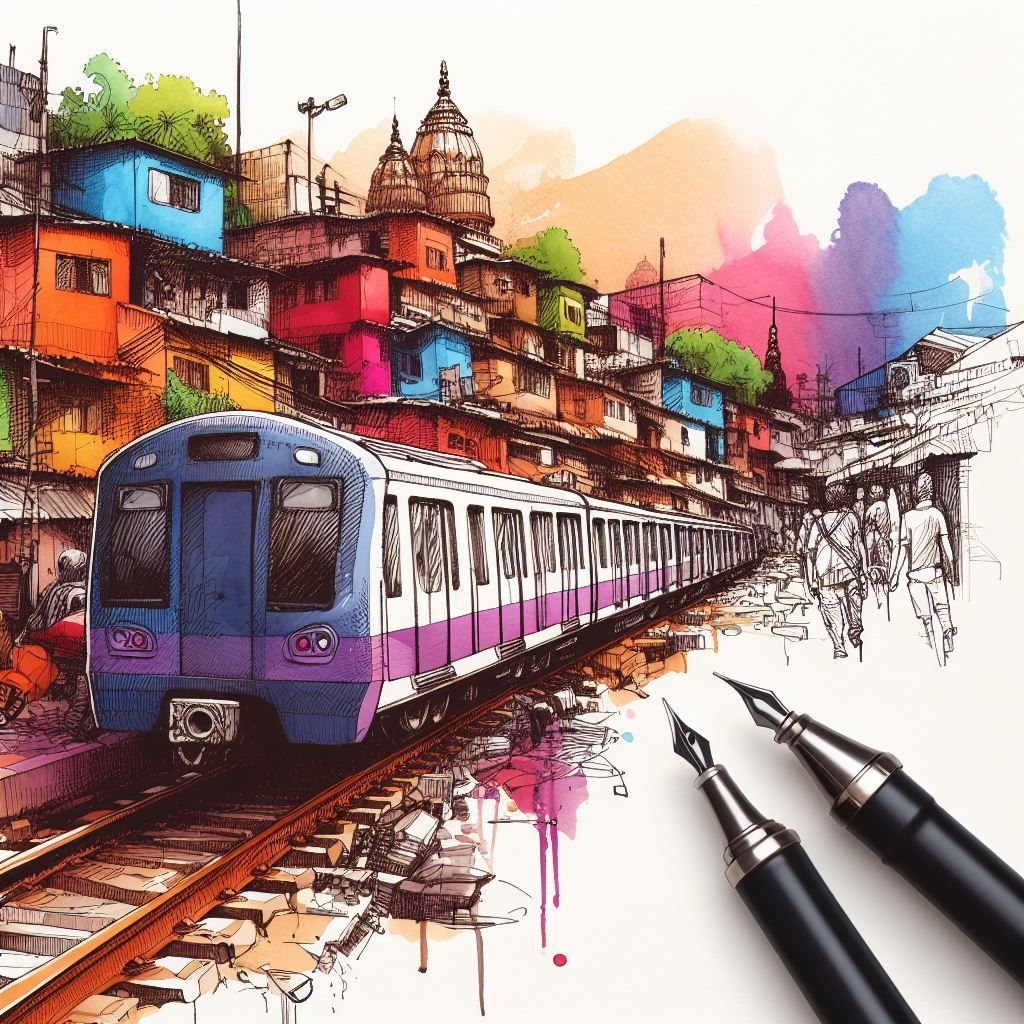
And here is the AI generated version! It is a great reference for me to get ideas of how to combine ink hatching and water colors to create a more professional look. That is the next steps, may be for another weekend project.
Thought this documentation of my process may help other amateurs who want to try learning sketching.

